The printer can't be found on the network. Here's a simple method of determining and fixing the problem. This is about three minutes of effort.
I use the .11 subnet (192.168.11.0). Your subnet or even network may be different—make the necessary adjustments. My HP 4520's address is 192.168.11.109, and I will start with cups pointed at .37.
1. Open a terminal and su to root.
Run the command:
watch --interval=10 netstat -antpu

The result shows cups is listening on :631 (a good thing), and there are no lost print jobs.
Leave the root terminal open until complete. It will refresh every 10 seconds.
2. Open a printable document, which could be a simple text file. Position the windows so you see the terminal. Print the file and watch for the print job to appear. It could take 10 seconds or more to appear.
This is what will appear and what is useful.

Useful information: the source computer's address (Local), and, the address that cups is sending the job to (Foreign).
The job is never going to get to the printer, although the process will stay active and the job will be resent every 30 (or so) seconds.
There's another useful item displayed, namely, the printer port, which is 9100.
3. Check to see if there is something on the network listening on :9100. Open another terminal and run the command:
nmap 192.168.11.1/24
Adjust the network number to yours, probably 192.168.1.1, so use 192.168.1.1/24.
My result shows something listening at 192.168.11.109:9100. That's the printer!

4. Check the cups configuration. The file is:
/etc/cups/printers.conf
Back it up before making changes. I use mc to view/edit: you can use a text editor, but it must be as root.
Mine shows the printer address 192.168.11.37, which matches netstat.

5. Edit that address to the one found in nmap. For me, 37 is replaced with 109. Save the file.

6. Go back to the root terminal window and ctrl-c to stop watch.
Restart cups:
/etc/init.d/cups restart
7. Send the the print job again.
Assigning a fixed address to the printer.
Assigning a fixed address can be done in two ways, depending on the printer.
The first, if available, is to configure the address on the printer. The address should be outside the router's DHCP range.
But, a better way is to let the router assign a reserved address. That way the printer always gets the same address and no other DHCP device gets that address.
Here's the way that's done on my TL-R860. Most routers are similar, but the terminology may be different.
1. Access your router, log in, and, look for DHCP.

2. Open the DHCP menu and note the Start and End addresses.

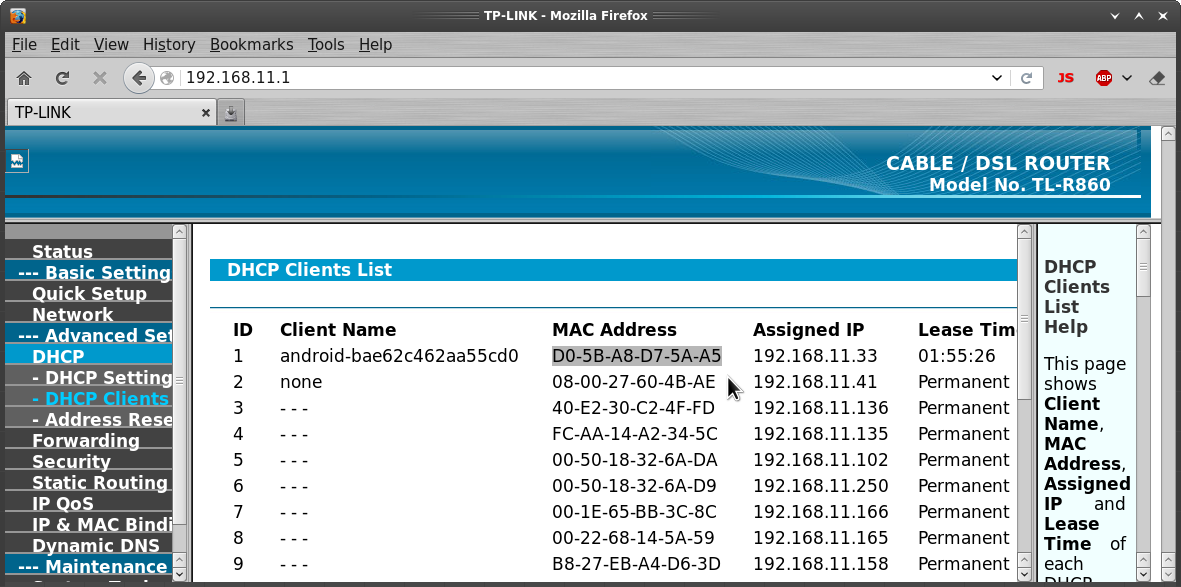
3. Check the client list and find your device and copy the MAC of the device.

I don't have an address assigned to my phone, but, notice all of the other devices on my network have reserved (permanent lease) addresses.
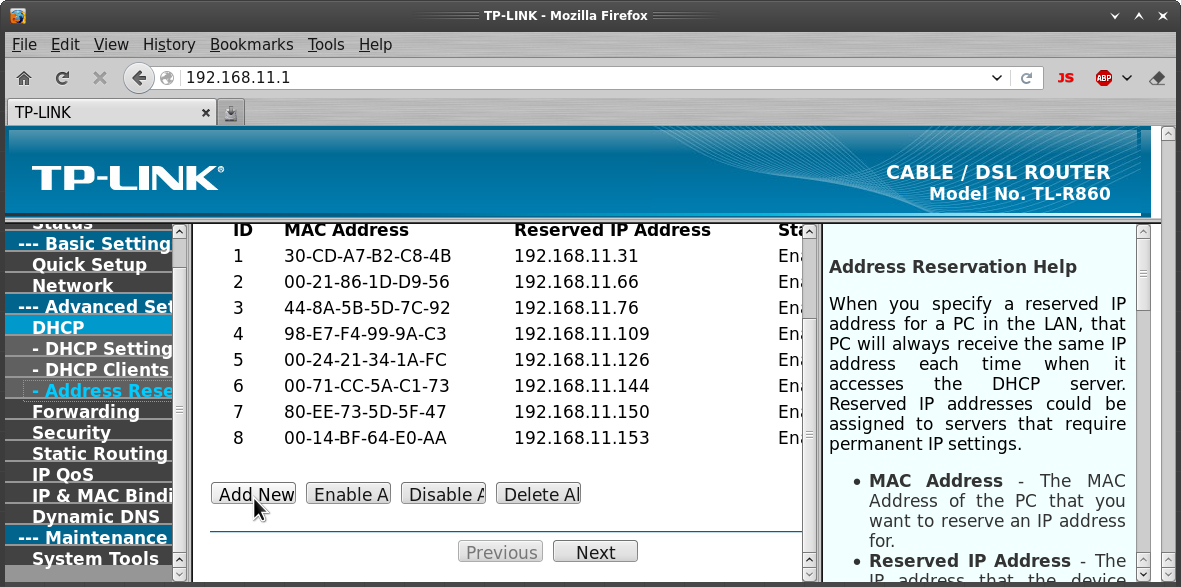
4. Move to the reservation page and select Add New.

5. Paste the MAC address, add the desired in-range address, and save.

6. Reboot the router.